Microsoft publish a recalibration tool for Xbox controllers, it's free, and it resolves a genuine class of fault. It's also widely misunderstood — including by people who tell you it fixes stick drift, which it only sometimes does.
Here's what it is, how to run it, and exactly where it stops being useful.
Which controllers it covers
This is the part most guides skip, and it's the first thing to check.
The tool is for the Xbox Wireless Controller — the Series X|S pad, the one with the Share button in the middle. If that's what you've got, you can use it.
Xbox One controllers aren't covered. Plug one in and the option won't appear. That isn't a fault with your controller or something you've done wrong, and it's worth knowing before you spend twenty minutes looking for a menu that isn't there.
The Elite Series 2 varies. Whether the option appears depends on the model and its firmware, so if you've got one, look and see rather than take anyone's word for it.
Not sure which you've got? Which Xbox controller do I have sorts it in about thirty seconds.
What it's actually doing
Worth understanding properly, because it explains both what it fixes and what it can't.
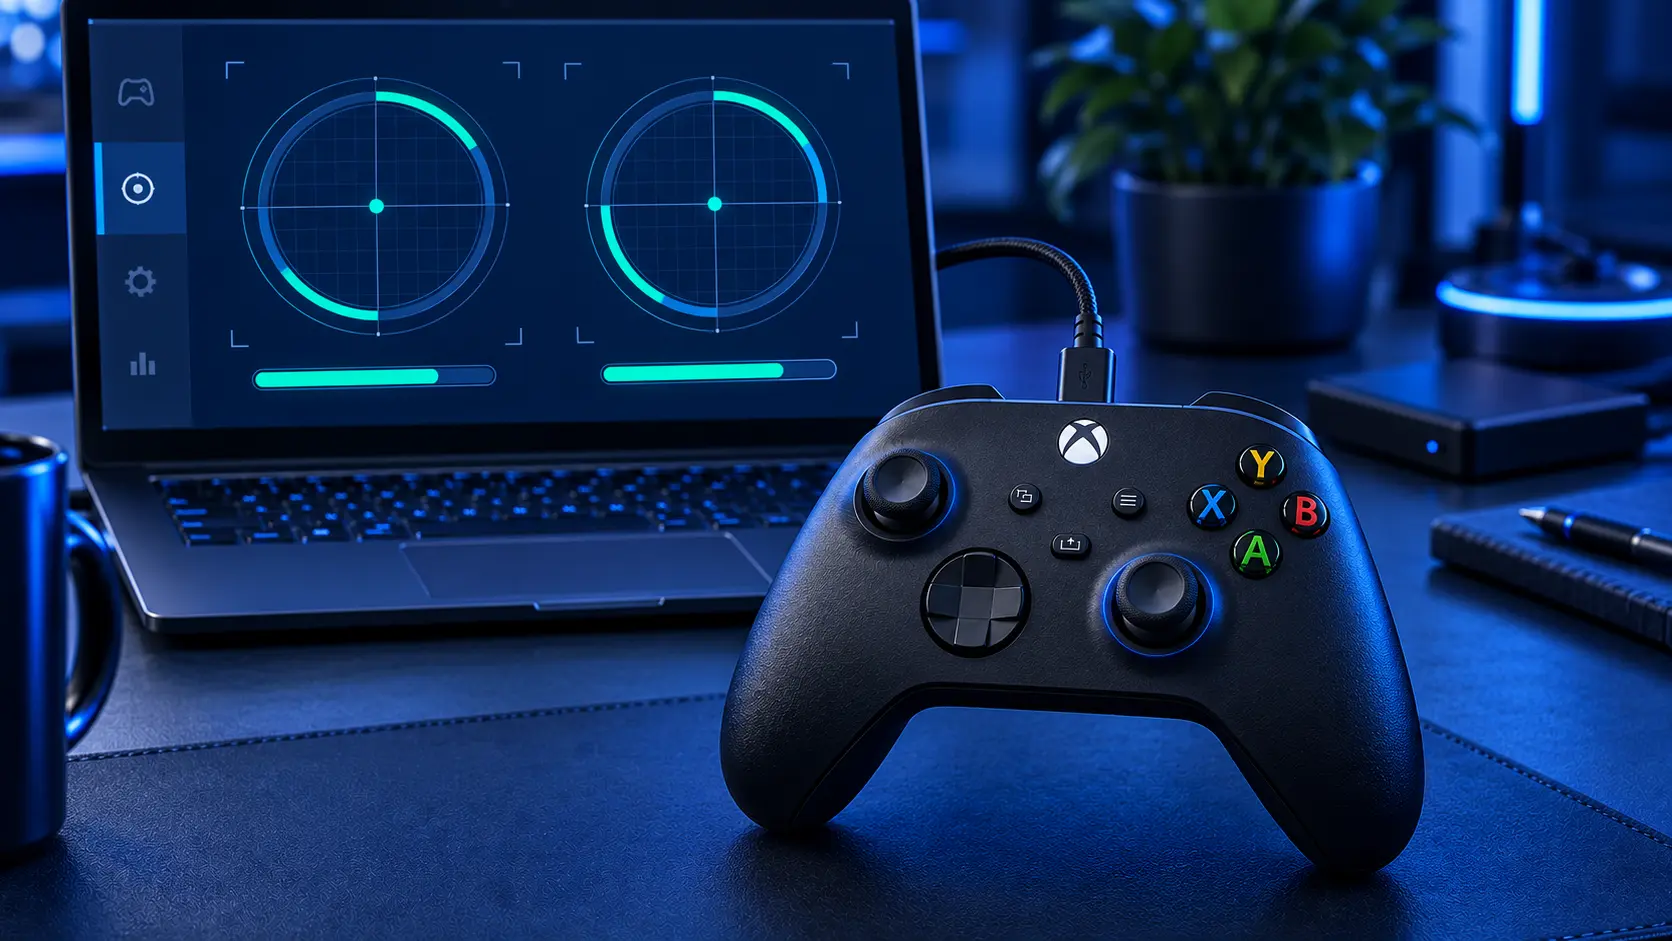
Your controller reports each stick's position as a number. At rest that number should read centre; pushed fully in one direction it should read the limit. Calibration is the controller sampling what your particular sticks actually report at those points, and storing that as its reference.
If the sticks are physically sound but the stored reference has drifted — after a knock, after a firmware update, or because the pad was being held when it connected — then recalibrating corrects it properly. The readings were always good; the reference was wrong.
If the resistive track inside the stick has worn, the readings themselves are noisy. Recalibration can move the reference to absorb some of that noise, which is why drift often vanishes for a few days afterwards. But the noise grows as the wear progresses, so each recalibration buys less than the one before.
Microsoft say the same thing in their own documentation: the tool isn't intended for drift caused by normal wear and tear.
Running it, step by step
On an Xbox console. Press the Xbox button, then go to Profile & system → Settings → Devices & connections → Controllers & headsets. Select your controller, open the three-dot menu, and look for the recalibration options.
On Windows. Install the Xbox Accessories app from the Microsoft Store, connect the controller and open the app. The recalibration options sit behind the same three-dot menu.
Two things before you start.
Use a cable, not Bluetooth. Anything touching firmware or calibration is more reliable over USB, and if the app offers a firmware update, install that first — occasionally that alone settles the problem.
Put the controller down between prompts. The tool samples where your sticks sit at rest. If you're gripping it, you'll teach it a resting position that isn't the real one, and you'll have made things slightly worse.
Then follow the prompts, one stick at a time. There's a trigger calibration in the same place if your triggers are the problem rather than the sticks.
The test that tells you what you've got
Calibrate, then use the controller normally for a few days.
Gone and stayed gone — it was a calibration fault. Free fix, nothing more to do.
Back within a few days — the stick is worn. That's not a failed calibration, it's a diagnosis, and it's the most useful thing the tool does. Repeating it will work for shorter and shorter periods.
What calibration won't fix
Worn sticks, as above. That's a physical fault and it needs the module replaced.
Sticky or unresponsive buttons, worn bumpers, a failing battery contact, a damaged USB-C port. Different parts entirely.
A game with a tight deadzone. If one game misbehaves and the dashboard is clean, the controller isn't the problem — check that game's controller settings. How to fix Xbox controller drift covers the free options in full, including the one that tends to make things worse.
Damage from contact cleaner. If you cleaned the sticks and things got worse afterwards, calibration won't undo it — why it's still drifting after a clean explains what's happened.
When it's the sticks
A stick replacement is £19 for one or £24 for both, including parts, tracked return postage and a 12-month warranty. If you'd rather deal with the cause, the Hall effect upgrade at £34 and TMR at £39 use contactless magnetic sticks with no contact track to wear down.
Every upgrade I fit to a Series X|S pad is calibrated with this same tool before it goes back, which is exactly why I don't fit TMR to Xbox One controllers.
Run the calibration first. If it holds, you've fixed it for nothing. If it's back inside the week, book the repair and tell me which stick.
The Repair Works is an independent UK repair service, run by me, Paul — 25 years of hands-on repair experience, working by post for customers across the whole country. Not affiliated with or endorsed by Microsoft.