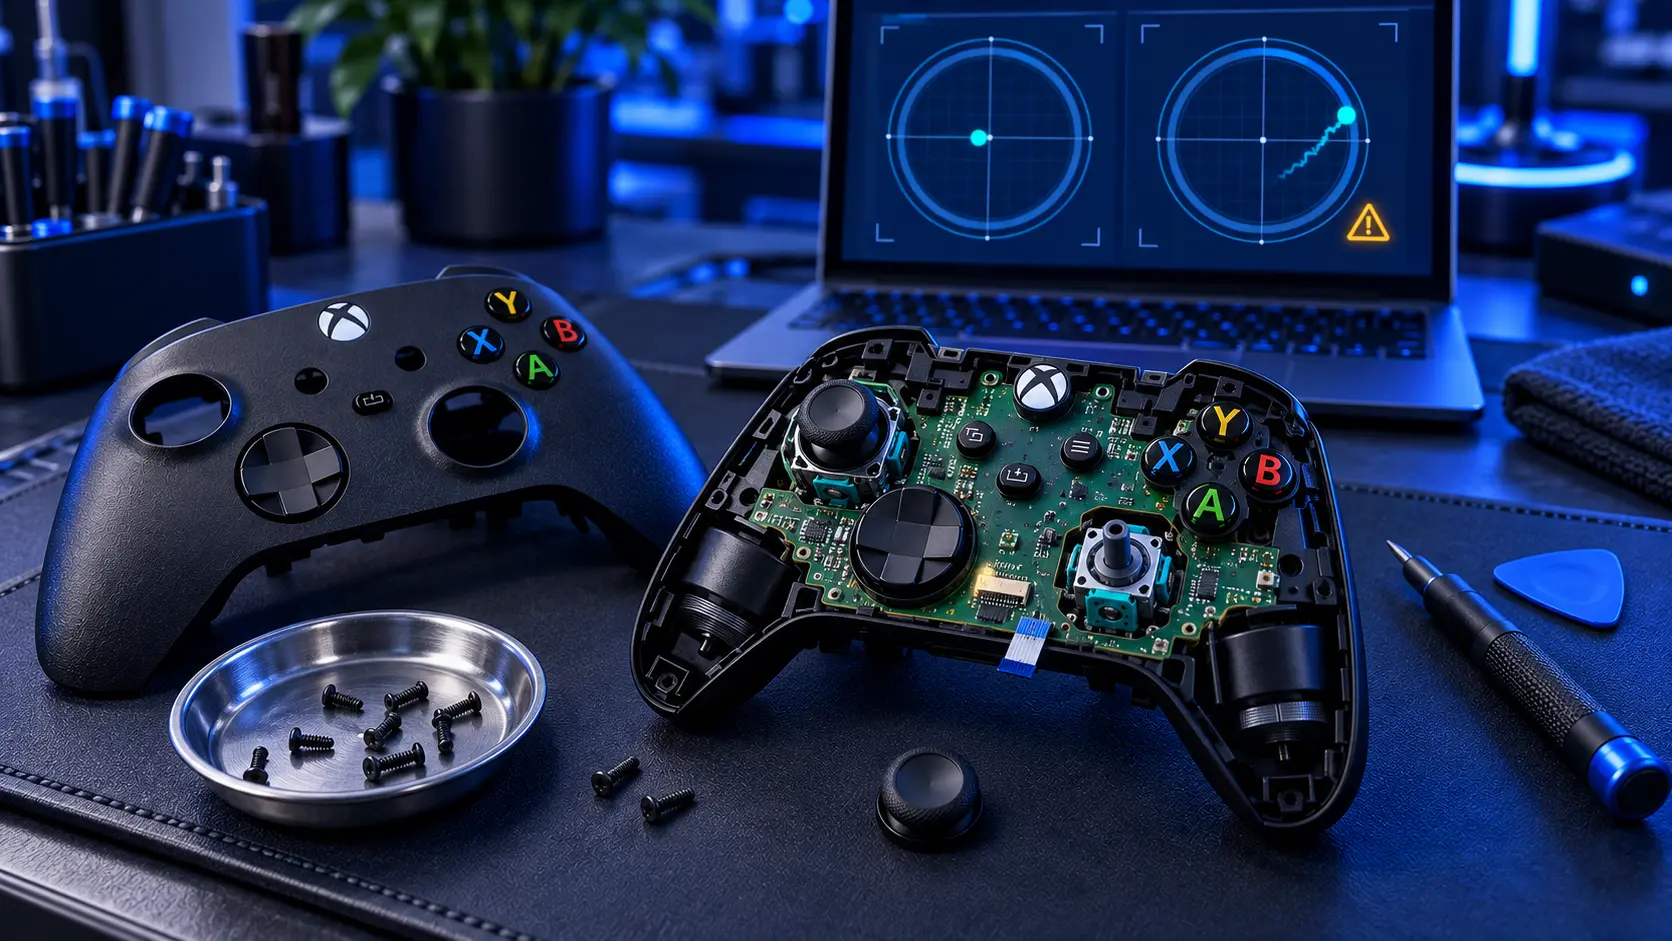
You watched a video, bought a stick module for a few quid, and it didn't go the way the video did. Now the controller is in pieces, something is torn or stripped, and it's worse than the drift you started with.
This happens a lot. It's a common way for a DIY repair to go wrong, and the honest news is that almost all of it is fixable — usually for the same £19 the original job would have cost, sometimes a bit more.
Here's what typically goes wrong on an Xbox pad specifically.
The screw you couldn't find
Before anything else, in case you're still stuck at this stage: there's a screw hidden under the sticker in the battery compartment. On a Series X|S controller there's exactly one, in the middle. On an Xbox One pad it's the same trick.
You can push the driver through the sticker or peel it back. People who don't know it's there tend to lever harder at the shell instead, which is where the next problem comes from.
Stripped screws
Xbox controllers use security Torx — T8 with a hollow centre on the Series X|S, plus a T6 for some of the internal screws. A standard T8 won't seat properly in a hollow-centre screw, and a driver that's slightly wrong rounds the head on the second turn.
Fixable: yes, almost always in practice. A rubber band for grip, a screw extractor, or drilling the head off and replacing the screw. Never a reason to bin a controller.
Cracked or levered shells
The halves clip as well as screw, and if a screw is still in — usually the hidden one — prying harder cracks the shell or snaps the clips.
Fixable: depends how many clips. One or two and it still closes properly. Several and it stops sitting flush, at which point it's a shell replacement, which is a part cost rather than skilled work.
Torn antenna connectors and ribbon cables
The Series X|S controller has Bluetooth antenna connectors that lift off the board, and they're smaller and more delicate than they look. Pulling the halves apart before releasing them is the usual way they tear.
Fixable: usually, though it depends which one and how far the damage goes. A connector torn from the board is a connector replacement — fiddly, not dramatic.
Rumble motors hanging by their wires
There are small motors in the triggers, and they're easy to let dangle while you're working on something else. The wires are thin and the solder joints are small, and they snap.
Fixable: yes. It's a resolder, and if a motor itself is damaged they're cheap parts.
Lifted pads
The one that stops most DIY stick replacements.
The stick module's joints go through a multi-layer board, and the copper pads they sit on are bonded with adhesive that gives up under sustained heat. Too hot an iron, too long on one joint, or levering the module while a joint is still solid, and a pad comes away with it. Sometimes you can see it — a small copper ring stuck to the old part.
Fixable: almost always. The trace is still in the board, it's just lost its landing point. It means scraping back to clean copper and running a fine jumper wire. Fiddly, and entirely routine.
A module that won't seat
You got the old one out, the new one won't go in flush, and forcing it bends the pins.
Usually the through-holes still have solder in them. Every hole needs clearing properly — desoldering braid or a solder sucker — before the new part will sit. Forcing it pushes solder further into the board, which is a worse problem.
Fixable: yes, assuming the holes aren't damaged. Bent pins on the module just mean a new module.
Cooked traces
The one that occasionally isn't fixable. If an iron has sat on the board long enough to darken or blister it, the damage may go beyond one joint.
Sometimes fixable, depending how far it spreads. This is the case where I might tell you the pad isn't worth saving — and if so, you don't pay for the repair.
Reassembled and now something else is wrong
Common and usually simple. Bumpers that don't click are normally a misaligned bumper cover; a headphone socket that doesn't work is usually the jack assembly not seated back into the shell properly; buttons that feel dead are often a membrane not sitting flat.
None of those need parts. They need it taking apart and putting back together correctly.
What it costs and what happens
A DIY repair gone wrong is usually the same £19 or £24 as the original job, because most of the time the extra work is minutes rather than hours. If there's more to it than that, I'll tell you before I do anything — I won't quietly turn a £19 job into a bigger bill.
If it genuinely can't be saved, no fix, no fee applies: you don't pay for the repair and I refund what you paid, less £4.99 return postage.
Send it in pieces if you need to
Put the loose parts in a small bag, put the bag in with the controller, and say in the booking what you tried and what went wrong. It saves me working backwards from the evidence, and it means I can tell you sooner whether it's worth doing.
I'd much rather fix someone's failed attempt than have them throw a controller away over a torn connector. And if you'd rather not do this again, the Hall effect and TMR upgrades replace the part that wears in the first place.
Bag up the bits, tell me what happened, and post it in. Most of what comes to me in pieces goes back working.
The Repair Works is an independent UK repair service, run by me, Paul — 25 years of hands-on repair experience, working by post for customers across the whole country. Not affiliated with or endorsed by Microsoft.