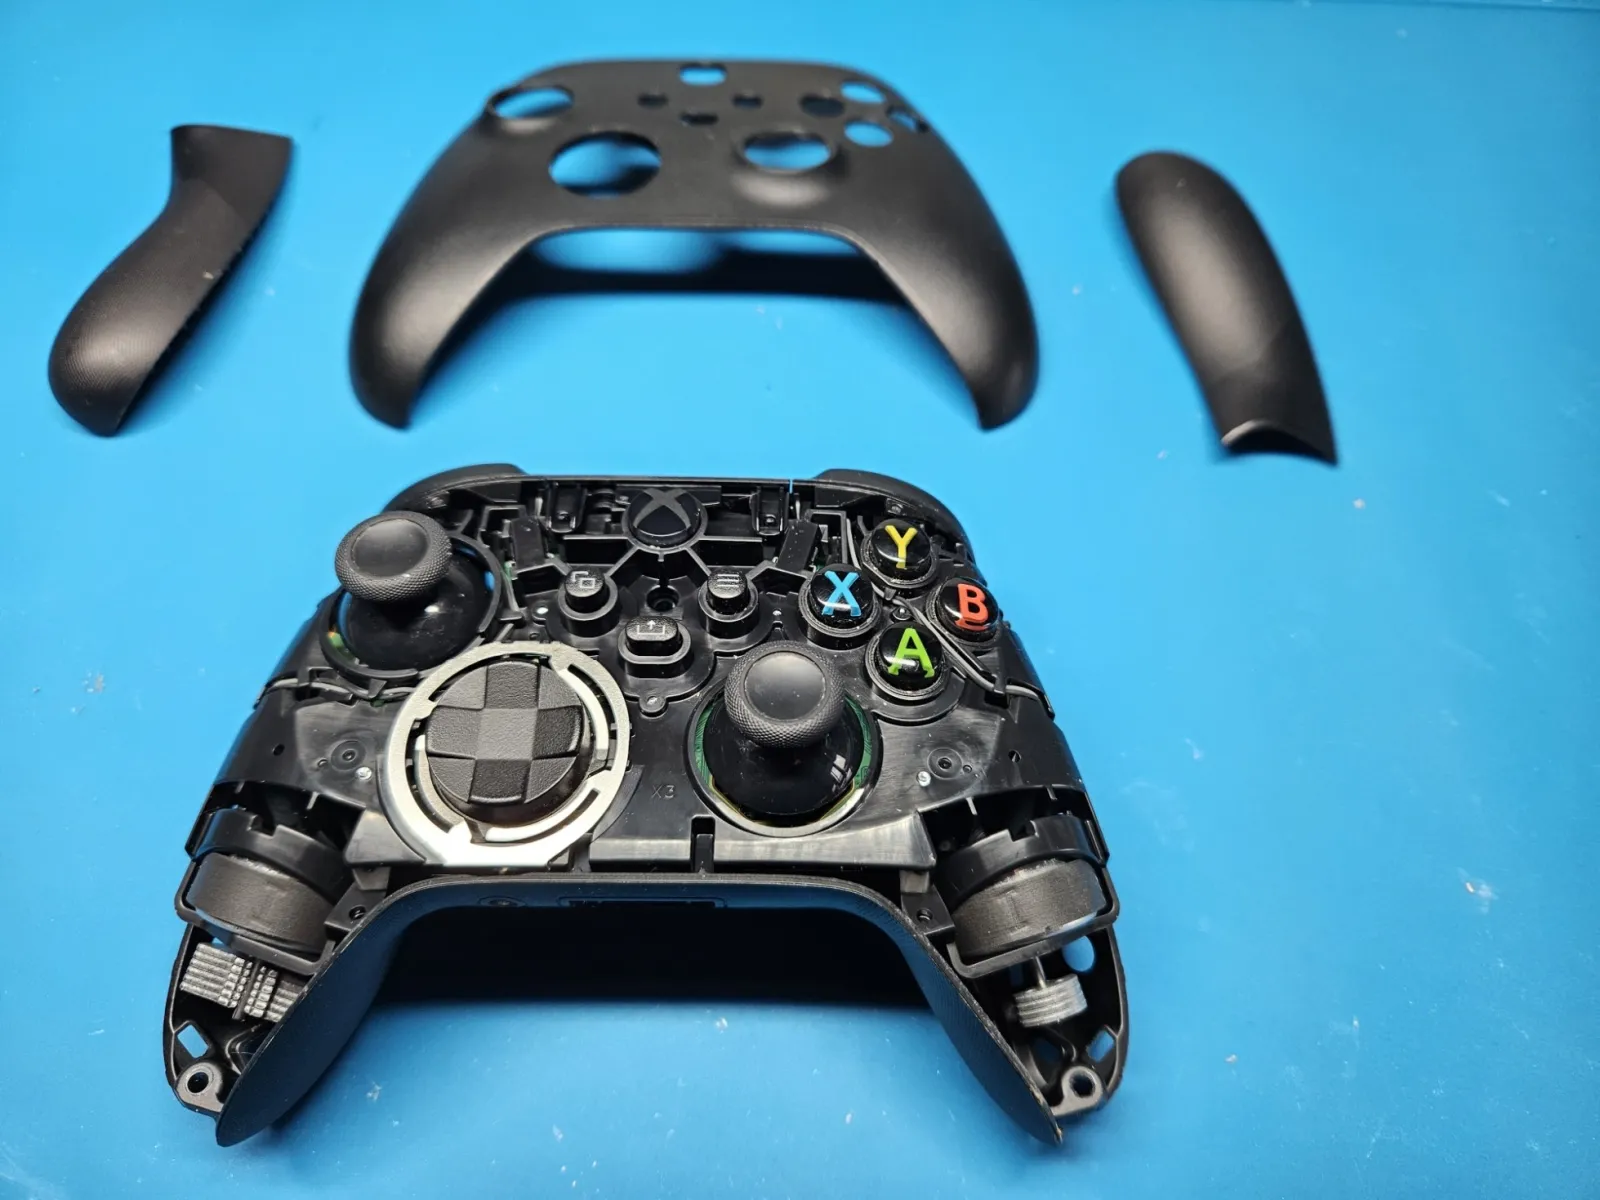
Fitting TMR sticks to an Xbox controller is a bigger job than swapping a part. The sticks are soldered to a board inside the controller, so it has to come apart, the old sticks have to come off cleanly, and the new ones need calibrating before they read properly. The photos here follow one Xbox Series X|S controller on my bench, and the one at the top shows it with its faceplate off.
What TMR sticks change
Stick drift usually comes from wear. The sticks your controller came with read their position with a wiper on a carbon track, and that track wears as you play. TMR sticks read position magnetically, so there's no contact track to wear down, which makes them far less prone to drift. They can still go off-centre from worn springs, a knock, dirt or a calibration problem, so the job doesn't end when the solder cools.
TMR sticks are aftermarket parts, so they aren't the same part Microsoft fits. If you're still choosing, I've compared the options in Hall effect vs TMR for Xbox controllers and are TMR sticks worth it? This post is about the work itself.
Before you book
A drifting stick doesn't automatically need new parts, and the first checks are free. My controller tester shows how far each stick sits from centre, in your browser. If the reading is off, Microsoft's calibration tool is worth trying next, because it sometimes clears the fault.
Stripping the controller down
The side grips come off first, then the faceplate. Both are held on by clips, and those clips are easy to snap if they're forced, so this part goes slowly.
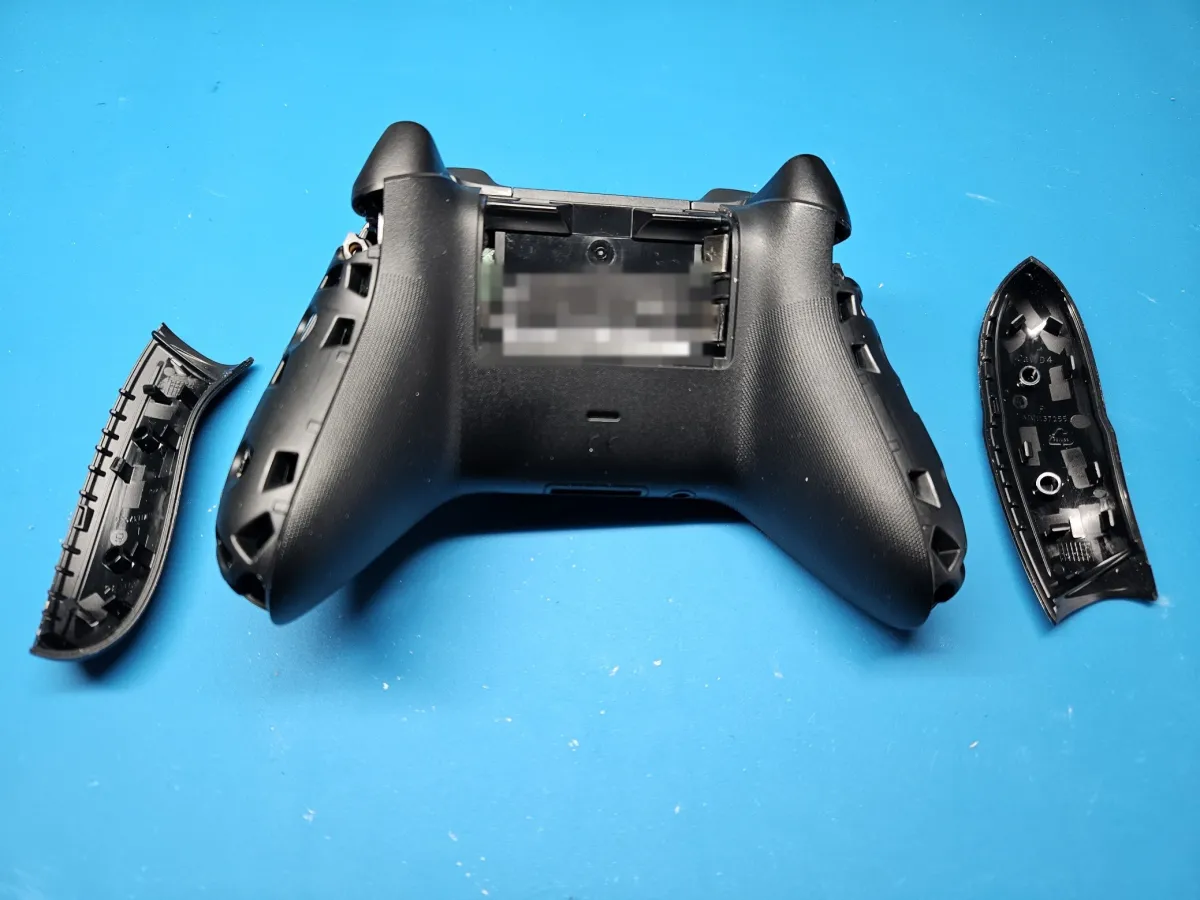
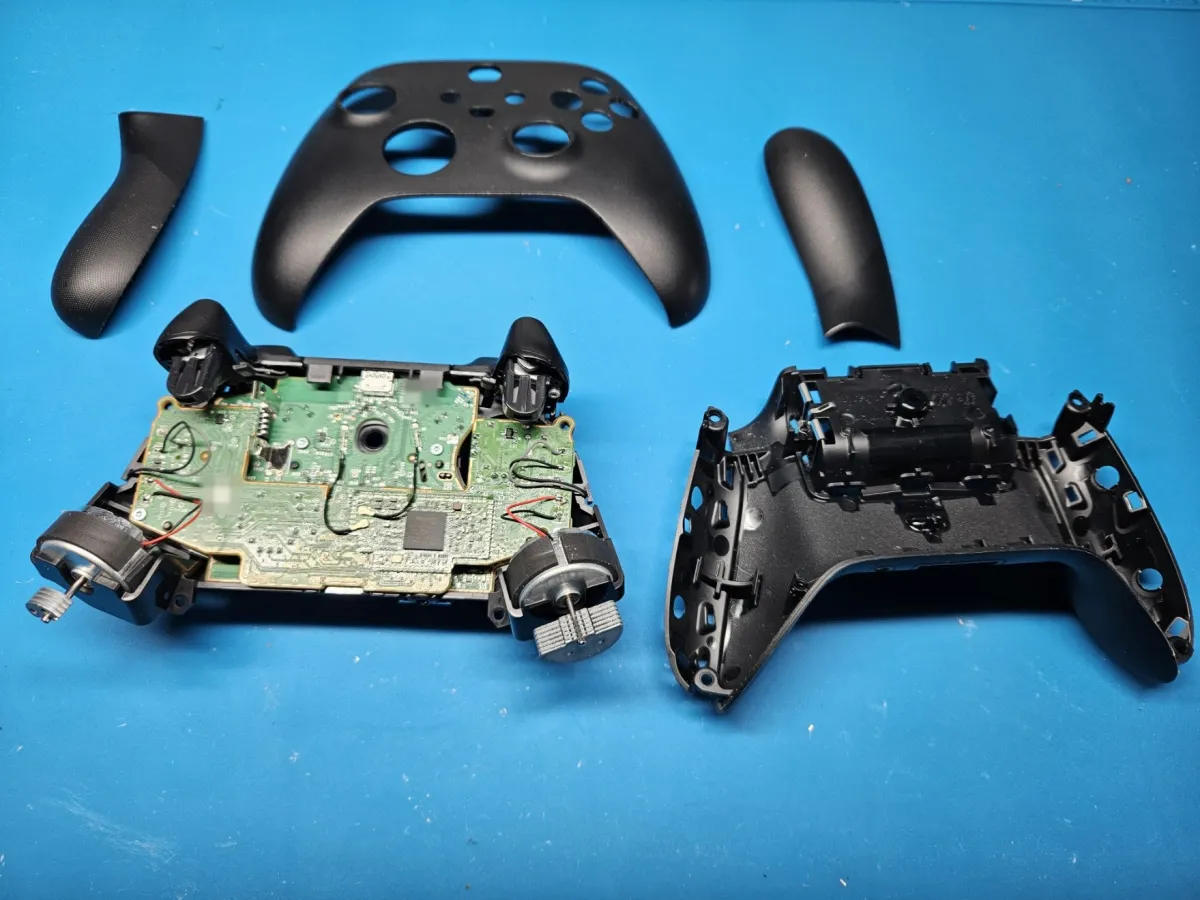
With the screws out, the back shell lifts away and the board assembly comes free. The sticks aren't on the main board you can see here. They're on a second board underneath it, so the two have to be separated before I can get to them.
Taking the old sticks off
The stick board goes in a PCB holder, which keeps it steady and lets me reach both sides. Each stick is soldered through the board at several joints, and every one of those joints has to be cleared before the stick will lift out.
This is the step where a stick upgrade can go wrong. If a stick is pulled while some of the solder is still holding it, the pad or the hole it sits in can tear away from the board. So I clear each joint and check the stick moves freely before lifting it off.
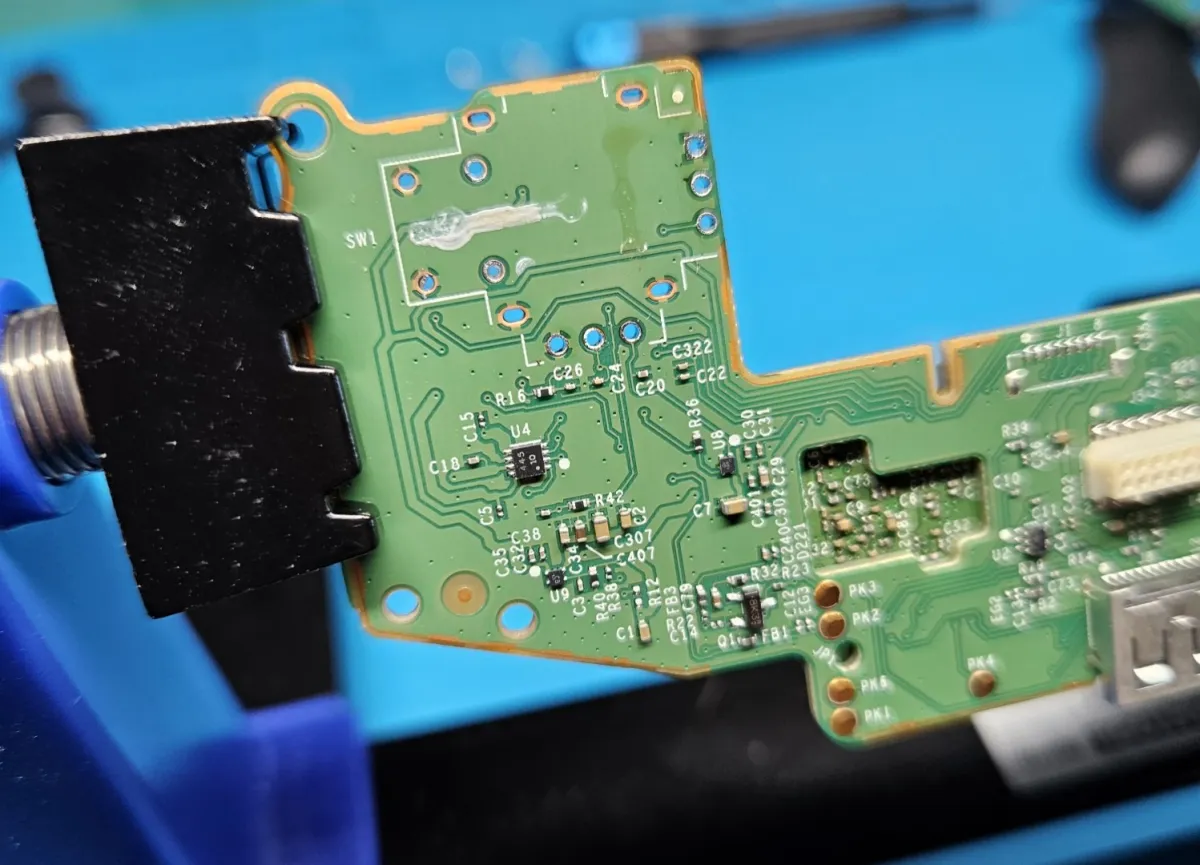
The holes need to be clear and the pads undamaged, because the new stick's pins have to drop straight through them.
Fitting the TMR sticks
The new sticks go in one at a time. Each has to sit flat and square on the board before I solder it, because a stick that's slightly tilted won't line up with the hole in the faceplate. Then I solder each joint and check them all under magnification.
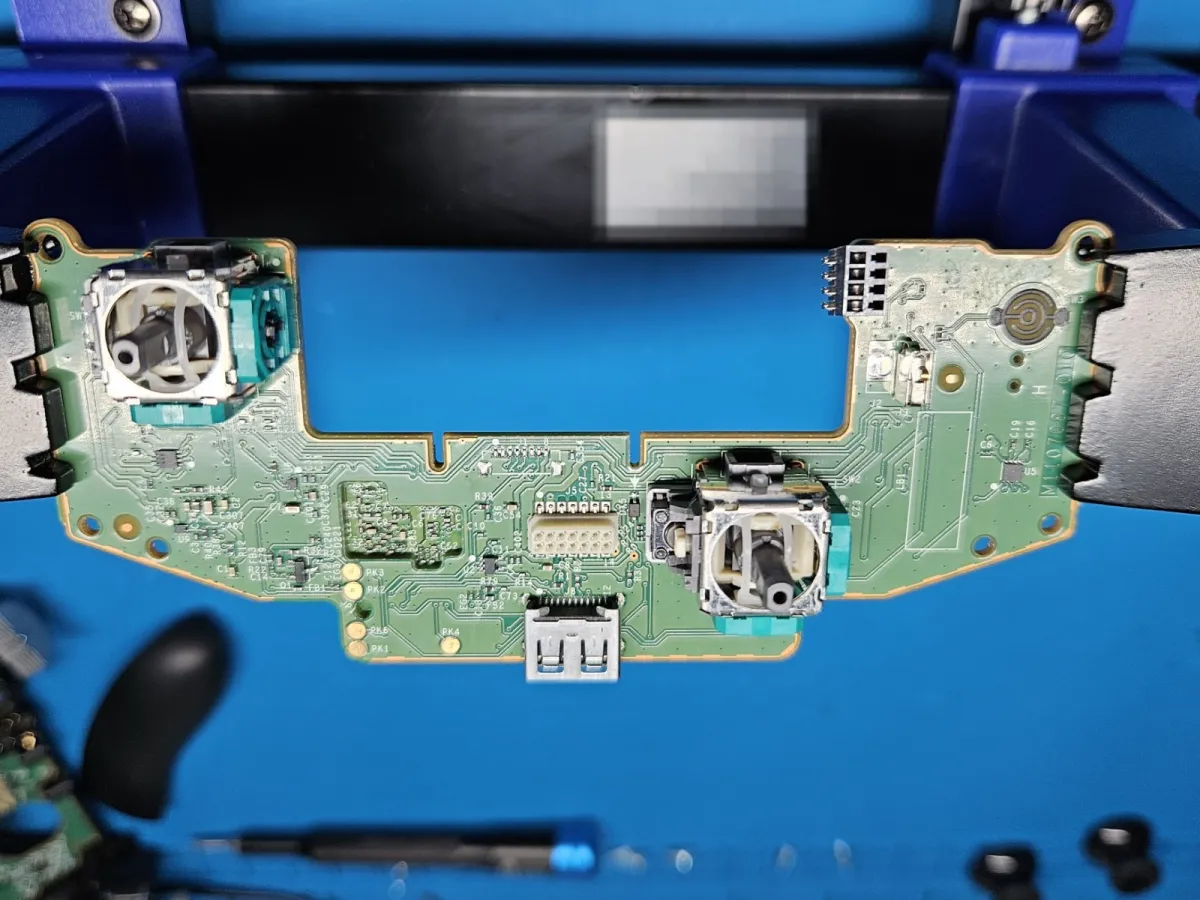
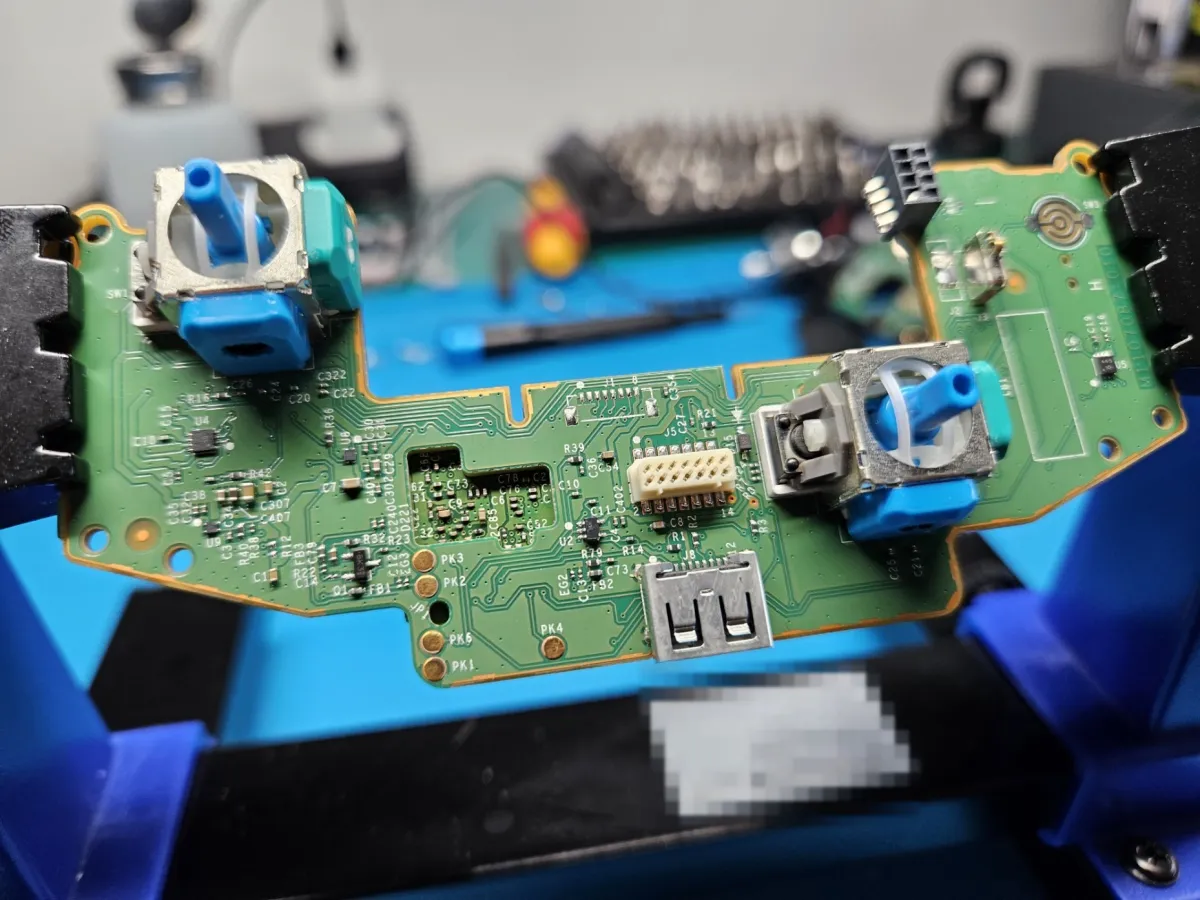
Those two photos show the same board, first with the old sticks and then with the TMR sticks. The blue is just the colour of these modules, and you won't see it once the controller is closed up. I fit both sticks on this upgrade, so they read and feel the same.
Calibrating and testing
A magnetic stick reports its position differently from the one it replaces, so the controller has to learn what the new sticks read at centre and at full travel. On a Series X|S controller, I do that in the Xbox Accessories app. Microsoft's calibration tool supports the Xbox Series X|S controller but not older Xbox One controllers (the ones without a Share button), which is why I only fit TMR sticks to Series X|S controllers.
Then I test both sticks through their full range with the same controller tester you can use at home, checking that each one comes back to centre. Once the controller is back together, I check the buttons and triggers too, and it's played on a real game before it's returned.
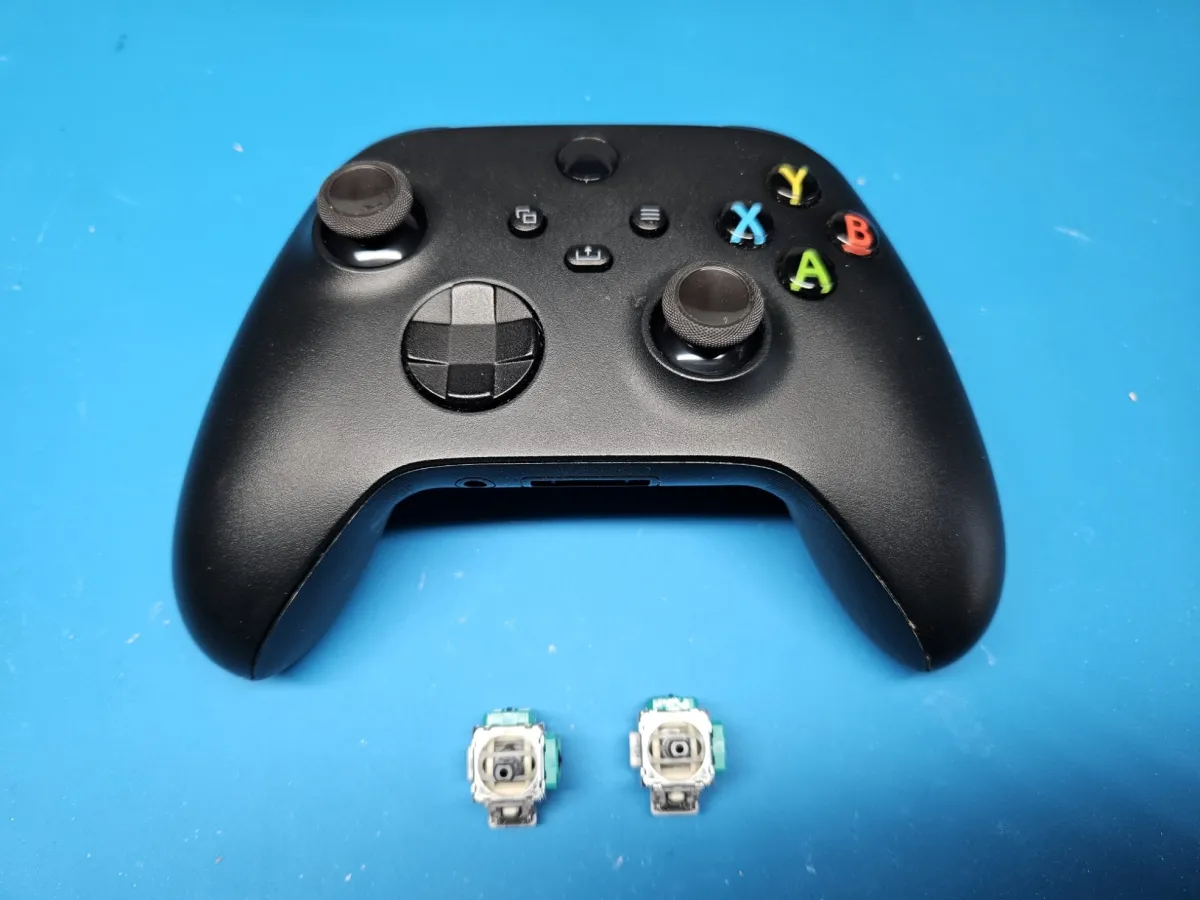
From the outside it looks like the same controller. The difference is inside.
TMR or Hall effect: what changes on the bench?
Very little. The Hall effect upgrade is the same strip-down, the same soldering and the same care with the pads. What changes is the part I fit, and that a Hall effect stick can also go in an Xbox One controller. If you want the lower price or you have an Xbox One controller, it does the same job of removing the track that wears.
When TMR isn't the one to book
- You just want it working for the least money. The standard Xbox controller stick drift repair is from £19, and it can replace a single stick.
- Your controller is still under warranty. Check your options first, because they may cost you nothing. I've covered them in Xbox controller warranty and your UK rights.
- Something else is wrong as well. New sticks won't help a sticky button, a worn trigger or a damaged charging port. Tell me when you book and I'll look at both. You can see every other repair on my controller repair page.
How to book
The Xbox controller TMR stick upgrade is £39, with both sticks, calibration and tracked return postage included, and a 12-month warranty. If the work can't be completed, it's no fix, no fee: I refund what you paid, less the return postage and packaging charge. Book online, then post the controller to me.
Common questions
Can TMR sticks still drift?
Not from track wear, because there's no track. They can still read off-centre after a knock, or from dirt, worn springs or a calibration problem, so they're far less prone to drift rather than immune to it.
Can you fit just one TMR stick?
No. I fit both, so they read and feel the same. If only one stick is drifting and you want the cheapest fix, the standard repair covers a single stick.
Can you fit them to an Xbox One or Elite controller?
This upgrade covers the standard Xbox Series X|S controller only. For an Xbox One controller, the Hall effect upgrade and the standard repair are both available. I don't repair the Elite Series 2 at the moment.